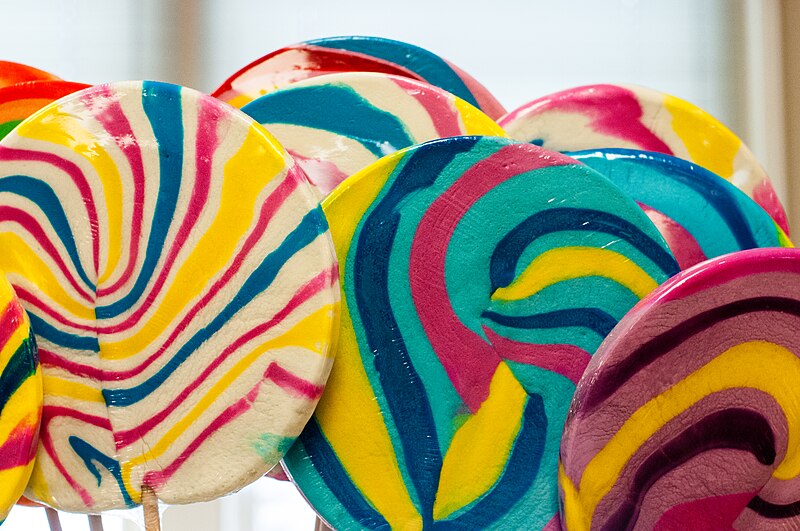
How to Make Lollipops: A Step-by-Step Guide to Sweet Perfection
Lollipops are a fun and colorful treat that delights kids and adults alike. With just a few simple ingredients and tools, you can create custom lollipops right in your own kitchen. Whether you’re crafting them for a party, a holiday gift, or just because, homemade lollipops are as enjoyable to make as they are to eat.
Why Make Homemade Lollipops?
- Customization: Create unique flavors, colors, and shapes.
- Quality Control: Use natural ingredients and avoid additives.
- Creative Fun: Perfect for involving kids in a hands-on activity.
Ingredients and Tools
Ingredients (Yields approximately 10 lollipops)
- Granulated Sugar: 2 cups
- Light Corn Syrup: 2/3 cup
- Water: 1/2 cup
- Flavoring Extract: 1–2 tsp (e.g., cherry, orange, or vanilla)
- Food Coloring: A few drops, optional
Tools
- Lollipop molds or a silicone baking mat
- Lollipop sticks
- Candy thermometer
- Heavy-bottomed saucepan
- Nonstick cooking spray
- Heatproof gloves (optional)
- Small ladle or spoon
Step-by-Step Instructions
Step 1: Prepare Your Workspace
- Grease your lollipop molds lightly with nonstick spray. Place lollipop sticks into the molds.
- If you’re using a silicone mat, arrange the sticks with enough space for pouring the candy.
Step 2: Combine Ingredients
- In a heavy-bottomed saucepan, combine sugar, corn syrup, and water. Stir the mixture over medium heat until the sugar dissolves completely.
- Once dissolved, stop stirring to prevent sugar crystals from forming.
Step 3: Heat to the Hard-Crack Stage
- Attach a candy thermometer to the saucepan, ensuring it doesn’t touch the bottom.
- Boil the mixture until it reaches 300°F (hard-crack stage).
- This stage ensures the candy hardens properly. Be patient and avoid stirring.
Step 4: Add Flavor and Color
- Remove the saucepan from heat and let the bubbling subside.
- Quickly stir in your chosen flavoring extract and food coloring. Work carefully—hot candy can cause burns.
Step 5: Pour into Molds
- Use a ladle or spoon to pour the hot candy into your prepared molds, covering the stick ends.
- If free-forming on a silicone mat, pour small circles of candy onto the mat and place the stick into the liquid.
Step 6: Cool and Remove
- Let the lollipops cool completely in the molds (about 20–30 minutes).
- Gently remove them from the molds or peel them off the mat once fully hardened.
Tips for Perfect Lollipops
- Work Quickly: The candy cools rapidly, so pour it into molds as fast as possible.
- Avoid Humidity: Humidity can make the lollipops sticky. Work in a dry environment.
- Experiment with Shapes: Use molds of different designs or try free-form shapes for a unique look.
Creative Variations
- Marbled Lollipops: Use two colors and gently swirl them together in the mold for a stunning effect.
- Edible Glitter: Sprinkle edible glitter or sugar crystals into the molds before pouring the candy for sparkle.
- Layered Flavors: Pour one color/flavor, let it cool slightly, then add another for a striped effect.
Storage and Packaging
- Store lollipops in an airtight container at room temperature. Wrap each lollipop individually in plastic wrap to keep them fresh and prevent sticking.
- Decorate with ribbons or labels for gifting or party favors.
Frequently Asked Questions (FAQs)
1. Can I use natural flavorings and colors?
Yes! Essential oils, like peppermint or citrus, and plant-based food colors work well for a natural option.
2. Why is my candy sticky?
Sticky candy is often caused by humidity or undercooking. Ensure you cook to the hard-crack stage and store the lollipops in a dry place.
3. What if I don’t have molds?
You can pour the candy onto a greased baking sheet or silicone mat and form circles for freehand lollipops.
4. Can I make sugar-free lollipops?
Yes, substitute sugar with a sugar-free sweetener like isomalt, which works well for candy-making.
5. How long do homemade lollipops last?
When stored properly, homemade lollipops can last for several weeks.
6. Can I make lollipops without a thermometer?
While possible, using a thermometer ensures precise cooking. Without it, test by dropping a small amount of syrup into ice water—if it hardens instantly, it’s ready.
Making lollipops at home is a fun and rewarding experience, allowing you to unleash your creativity while crafting a delicious treat. Whether you’re making them for yourself or to share, homemade lollipops are sure to bring smiles to everyone who tries them. Enjoy the sweet success of your candy-making adventure! 🍭
Leave a Reply